Motion trails in Gaia Sky
Vertex-based motion trails implementation using screen-space velocity
Astronomical scenes, especially those rendered interactively, often feature supraluminal camera motion over immense distances. Sometimes, these motions are rendered by applying trail effects to light-emitting objects to enhance the faster-than-light velocity sensation. Gaia Sky will get an implementation of motion trails in the next version (3.6.9). Motion trails are a visual effect that stretches stars, galaxies, and other light-emitting particles in the direction of the velocity vector of the camera, giving a sense of speed and enhancing the perception of motion through space. This technique is inspired by relativistic visualizations and classic star streak effects, but it is grounded in angular motion rather than raw velocity.
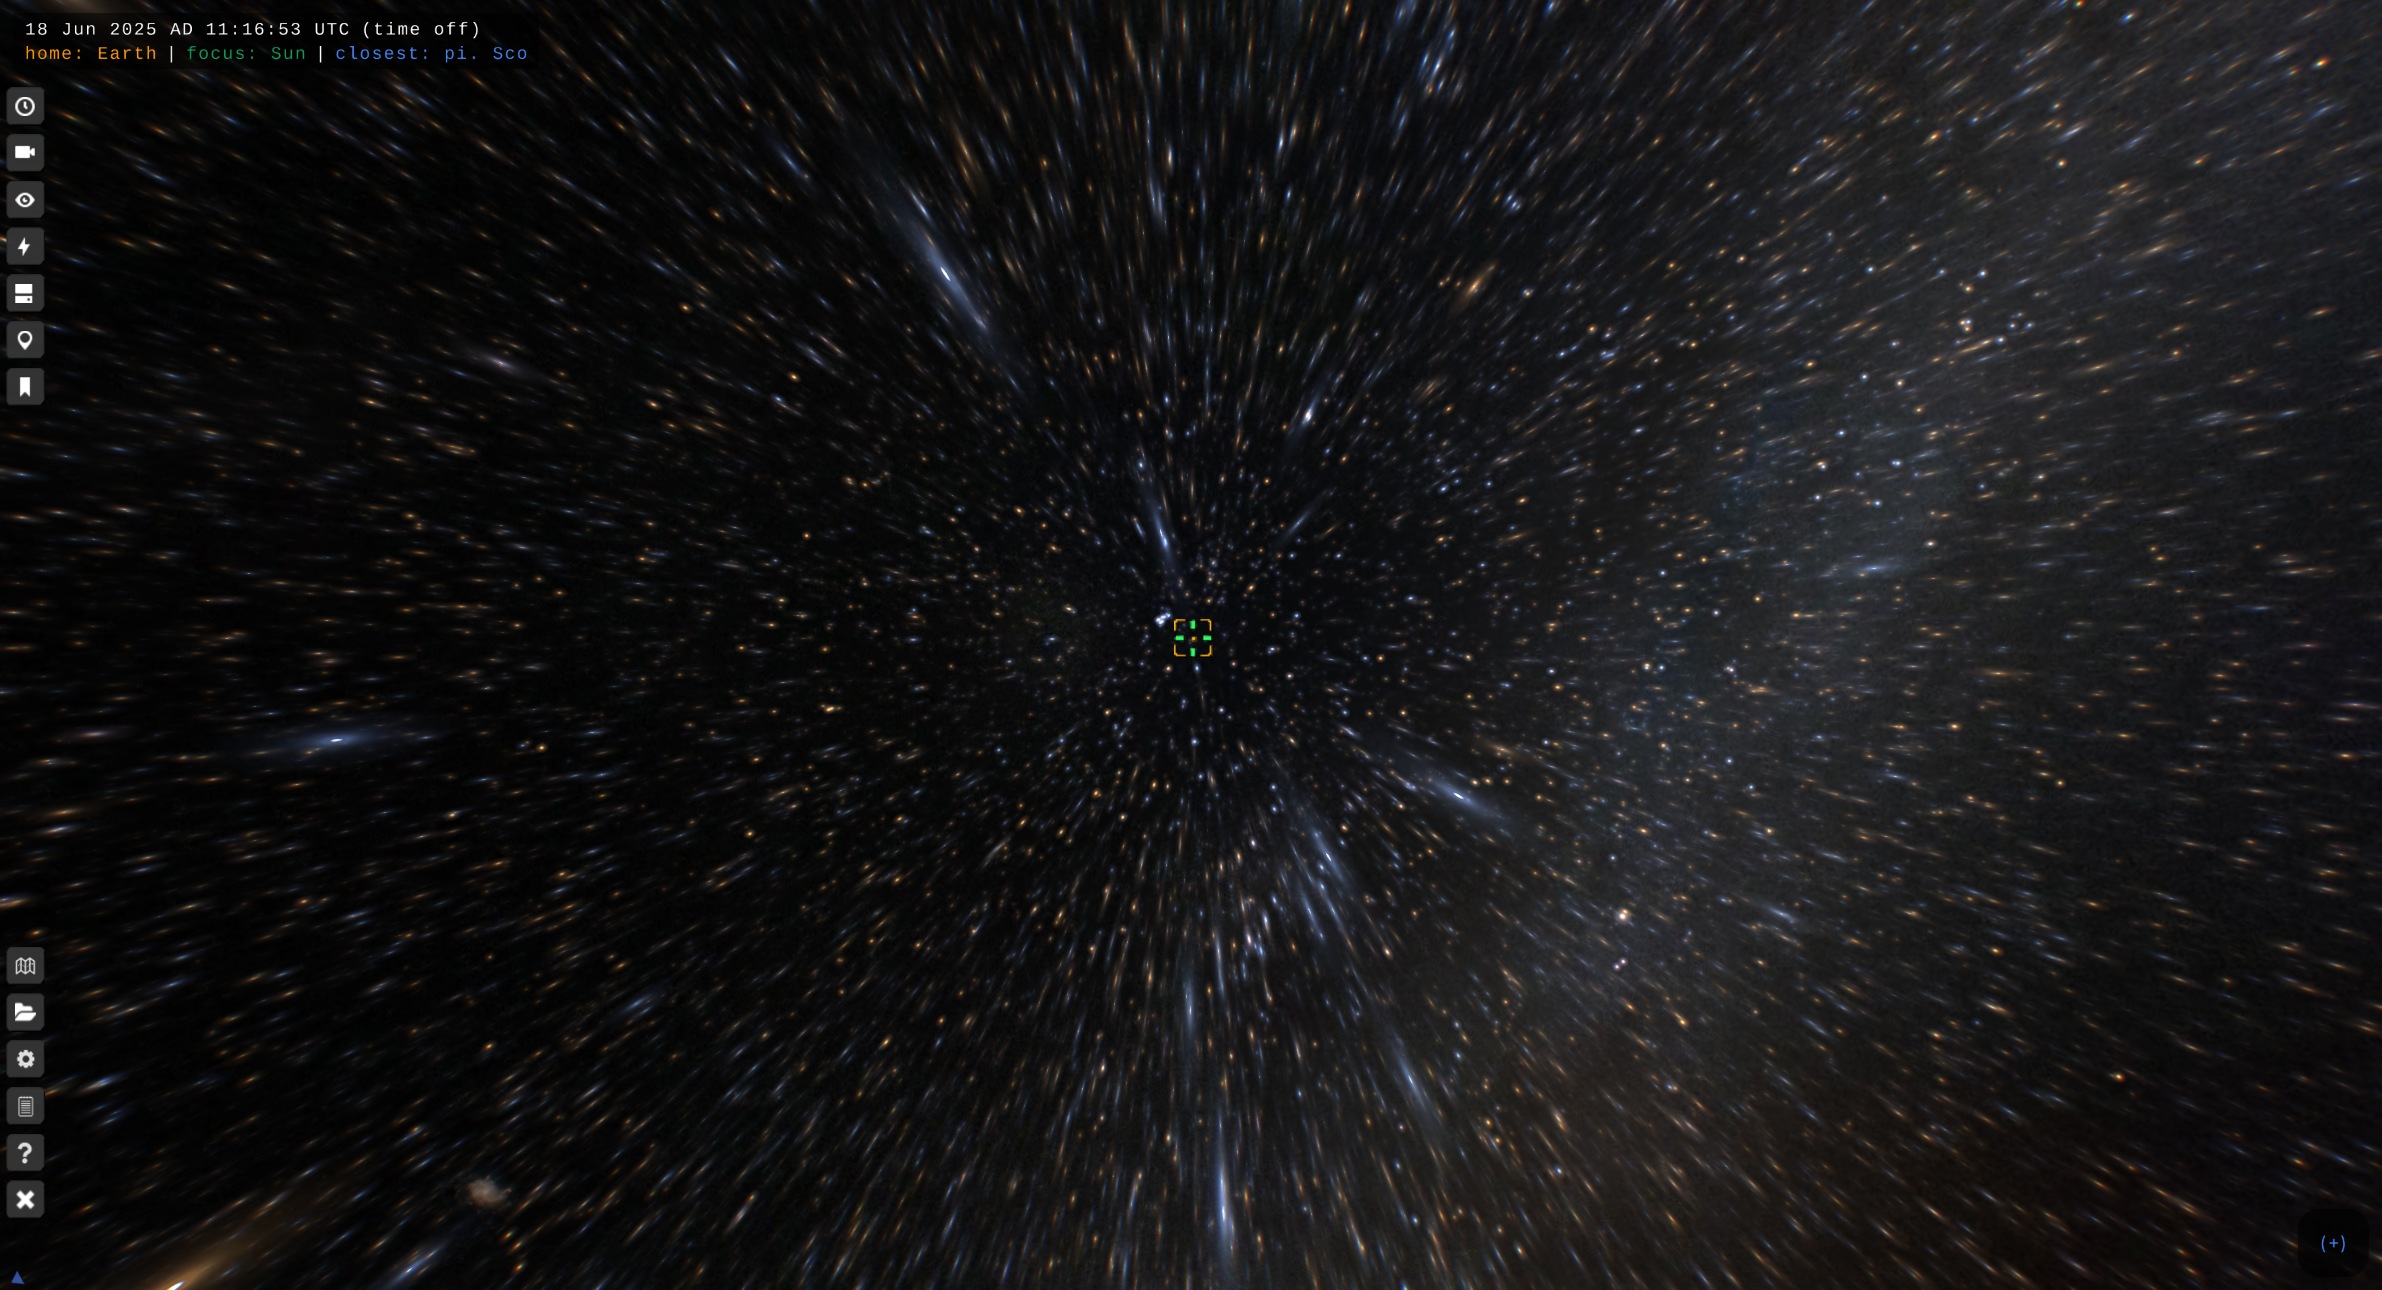
Vertex-based stretching of stars in supraluminal travel in Gaia Sky.
In this post, I describe the technical details that made implementing a performant, vertex-based solution into Gaia Sky possible.
Traditional approach
The typical way to render such an effect is through a post-processing motion blur pass, especially common in game engines and cinematic visualizations. The process is roughly the following:
Separate Render Targets — stars, particles, or other emissive elements are rendered to dedicated framebuffers (with color and velocity).
Velocity Buffers — each rendered object encodes its screen-space motion vector based on differences between current and previous frame transforms.
Post-Processing Blur Shader — a fullscreen pixel shader smears pixels along their velocity vector, creating blur or streaks. This can be implemented with linear sampling or more advanced temporal accumulation techniques.
This method applies uniformly to all rendered elements, works in screen space, typically using a pixel shader, and reuses the pre-existing motion blur infrastructure in engines. However, it requires additional render targets and history buffers, it is almost impossible to control and isolate per-object, and it does not handle transparencies or additive blending correctly. What can we do about it?
Our approach
In Gaia Sky, the effect is instead implemented directly in the vertex shader. Each object is a quad billboard oriented toward the camera. Trails are computed procedurally based on the screen-space velocity of the objects (difference in projected position over time steps), the stretch direction based on camera motion, and a distance-based fade-out.
This technique is simpler and has some nice bonuses:
- It avoids history buffers or post-processing passes.
- It is fully compatible with additive blending and transparency.
- It scales well with hundreds of thousands of objects.
- It is tunable based on distance, screen velocity, and apparent motion.
In short, this vertex-based approach integrates the effect tightly into Gaia Sky’s real-time astronomical renderer, improving performance, visual clarity, and configurability.
The shader
The code lives in the snippet that computes the billboard rotation, i.e., the part of the code that orients the quad to the camera to make it a billboard. This snippet uses the following inputs:
s_vert_pos: vec4— vertex position.s_obj_pos: vec3— object position w.r.t. camera.s_proj_view: mat4— camera view-projection matrix.s_size: float— quad size.u_camUp: vec3— world-space camera up vector.u_camVel: vec3— world-space camera velocity.u_dt: float— delta time in seconds between frames.u_uToMpc: float— conversion factor from internal units to Mpc.
The shader chunk computes the final vertex position and puts it into gpos: vec4.
In the next subsections I break down the shader parts and explain each one separately.
0. Initial orientation
Here we just compute the orientation base of the quad/billboard, taking as reference the vector from the camera to the center of the object (s_obj_pos).
 s_obj = normalize(s_obj_pos);
 s_right = normalize(cross(u_camUp, s_obj));
 s_up = normalize(cross(s_obj, s_right));
1. Rotation and velocity projection
The quad is oriented toward the camera using a rotation quaternion. We then rotate the camera velocity into the quad’s local space to determine stretch direction.
vec4 s_quat = q_look_at(s_obj, s_up);
vec4 s_quat_inv = q_conj(s_quat);
vec3 local_pos = s_vert_pos.xyz;
vec3 centered_pos = local_pos;
vec3 local_cam_vel = qrot(s_quat_inv, u_camVel);
2. Estimate screen-space movement
We simulate where the object would be next frame by offsetting it by the camera velocity u_camVel using the frame time u_dt. This gives a screen-space motion estimate in NDC (Normalized Device Coordinates). Note the division by the \(w\) component of clip coordinates, needed to convert to NDC.
vec3 obj_world = s_obj_pos;
vec3 obj_next = obj_world - u_camVel * u_dt;

vec4 clip_now = s_proj_view * vec4(obj_world, 1.0);
vec4 clip_next = s_proj_view * vec4(obj_next, 1.0);

vec2 ndc_now = clip_now.xy / clip_now.w;
vec2 ndc_next = clip_next.xy / clip_next.w;
float screenVel = length(ndc_now - ndc_next);
3. Calculate trail stretch amount
The stretch magnitude is driven by the screen-space velocity screenVel, shaped using a nonlinear power function and clamped. The actual parameters need to be tuned to every scene.
vec3 stretch_dir = normalize(vec2(local_cam_vel.x, local_cam_vel.y).xyx);
float stretch = pow(screenVel * 450.0, 2.0);
stretch = clamp(stretch, 0.0, 6.0);
4. Distance-based fadeout
To avoid unnecessary GPU load from distant galaxies (which barely move visually), the effect fades out smoothly between 30 and 50 Mpc. This only ever affects very distant, high-z galaxies due to the distances involved in the thresholds.
// Object distance in Mpc
float distMpc = length(s_obj_pos) * u_uToMpc;
float fade = smoothstep(50.0, 30.0, distMpc);
stretch *= fade;
5. Apply trail effect
Directionally stretch the quad along the motion vector. Brightness is adjusted to maintain consistent visual intensity. Otherwise, the stars appear brighter as they are stretched, which is bad.
if (screenVel < 0.0001 || fade < 0.01) {
    stretch = 0.0;
} else {
    // Stretch around center position
    float taper = dot(stretch_dir, centered_pos);
    centered_pos += stretch * taper * stretch_dir;

    float brightnessScale = 2.0 / (1.0 + stretch);
    v_col.rgb *= clamp(brightnessScale, 0.0, 1.0);
}
6. Final assembly
We recenter, scale, rotate back to world space, and project to clip space.
local_pos = centered_pos * s_size;
vec3 world_pos = s_obj_pos + qrot(s_quat, local_pos);
// Final vertex position
gpos = s_proj_view * vec4(world_pos, 1.0);
Results
You have already seen the image at the top of this post. But an image without motion is frankly unimpressive. You can see a video of the effect in this Bluesky post:
#GaiaSky will get a star streaks shader in the next release. This effect elongates stars in the direction of motion to create a sort of Star Trek travel effect. Of course, this can be turned off in the settings.
— Gaia Sky (@gaiasky.bsky.social) Jun 16, 2025 at 15:26
[image or embed]
Conclusion
This vertex-based trail method avoids the cost and complexity of traditional post-processing while remaining physically intuitive and performant. This represents an ideal fit for real-time astronomical rendering, and for Gaia Sky in particular.
Some improvements to consider for the future could be:
- Potential support for color or spectral shifts (red/blue) based on velocity and stretch.
- Adaptive fall-off curves could optimize performance.
- A GPU culling pass could eliminate distant objects entirely.