Replacing the Steam Deck SSD
A step-by-step guide to upgrade the internal SSD drive of Valve’s Steam Deck
I got my Steam Deck almost a year ago. I got the cheapest 64 GB model fully expecting that I would need to upgrade its internal M.2 2230 NVMe SSD to something with more capacity down the road. Well, the day finally came. In this post I report the quick and painless process I followed to successfully upgrade the Steam Deck 64 GB SSD to a more than respectable 1 TB M.2 NVMe drive. Here are the steps involved in the process:
- step 0: pre-requisites
- step 1: open the deck
- step 2: clone the drives
- step 3: resize home partition
- step 4: wrap-up
Step 0: Pre-requisites
First, you need to get a new M.2 2230 NVMe SSD. The 2230 form factor is important, otherwise the SSD won’t fit in your Steam Deck. I got a Corsair MP600 Mini 1TB M.2 NVMe PCIe x4 offf Amazon for 112 euros (here).
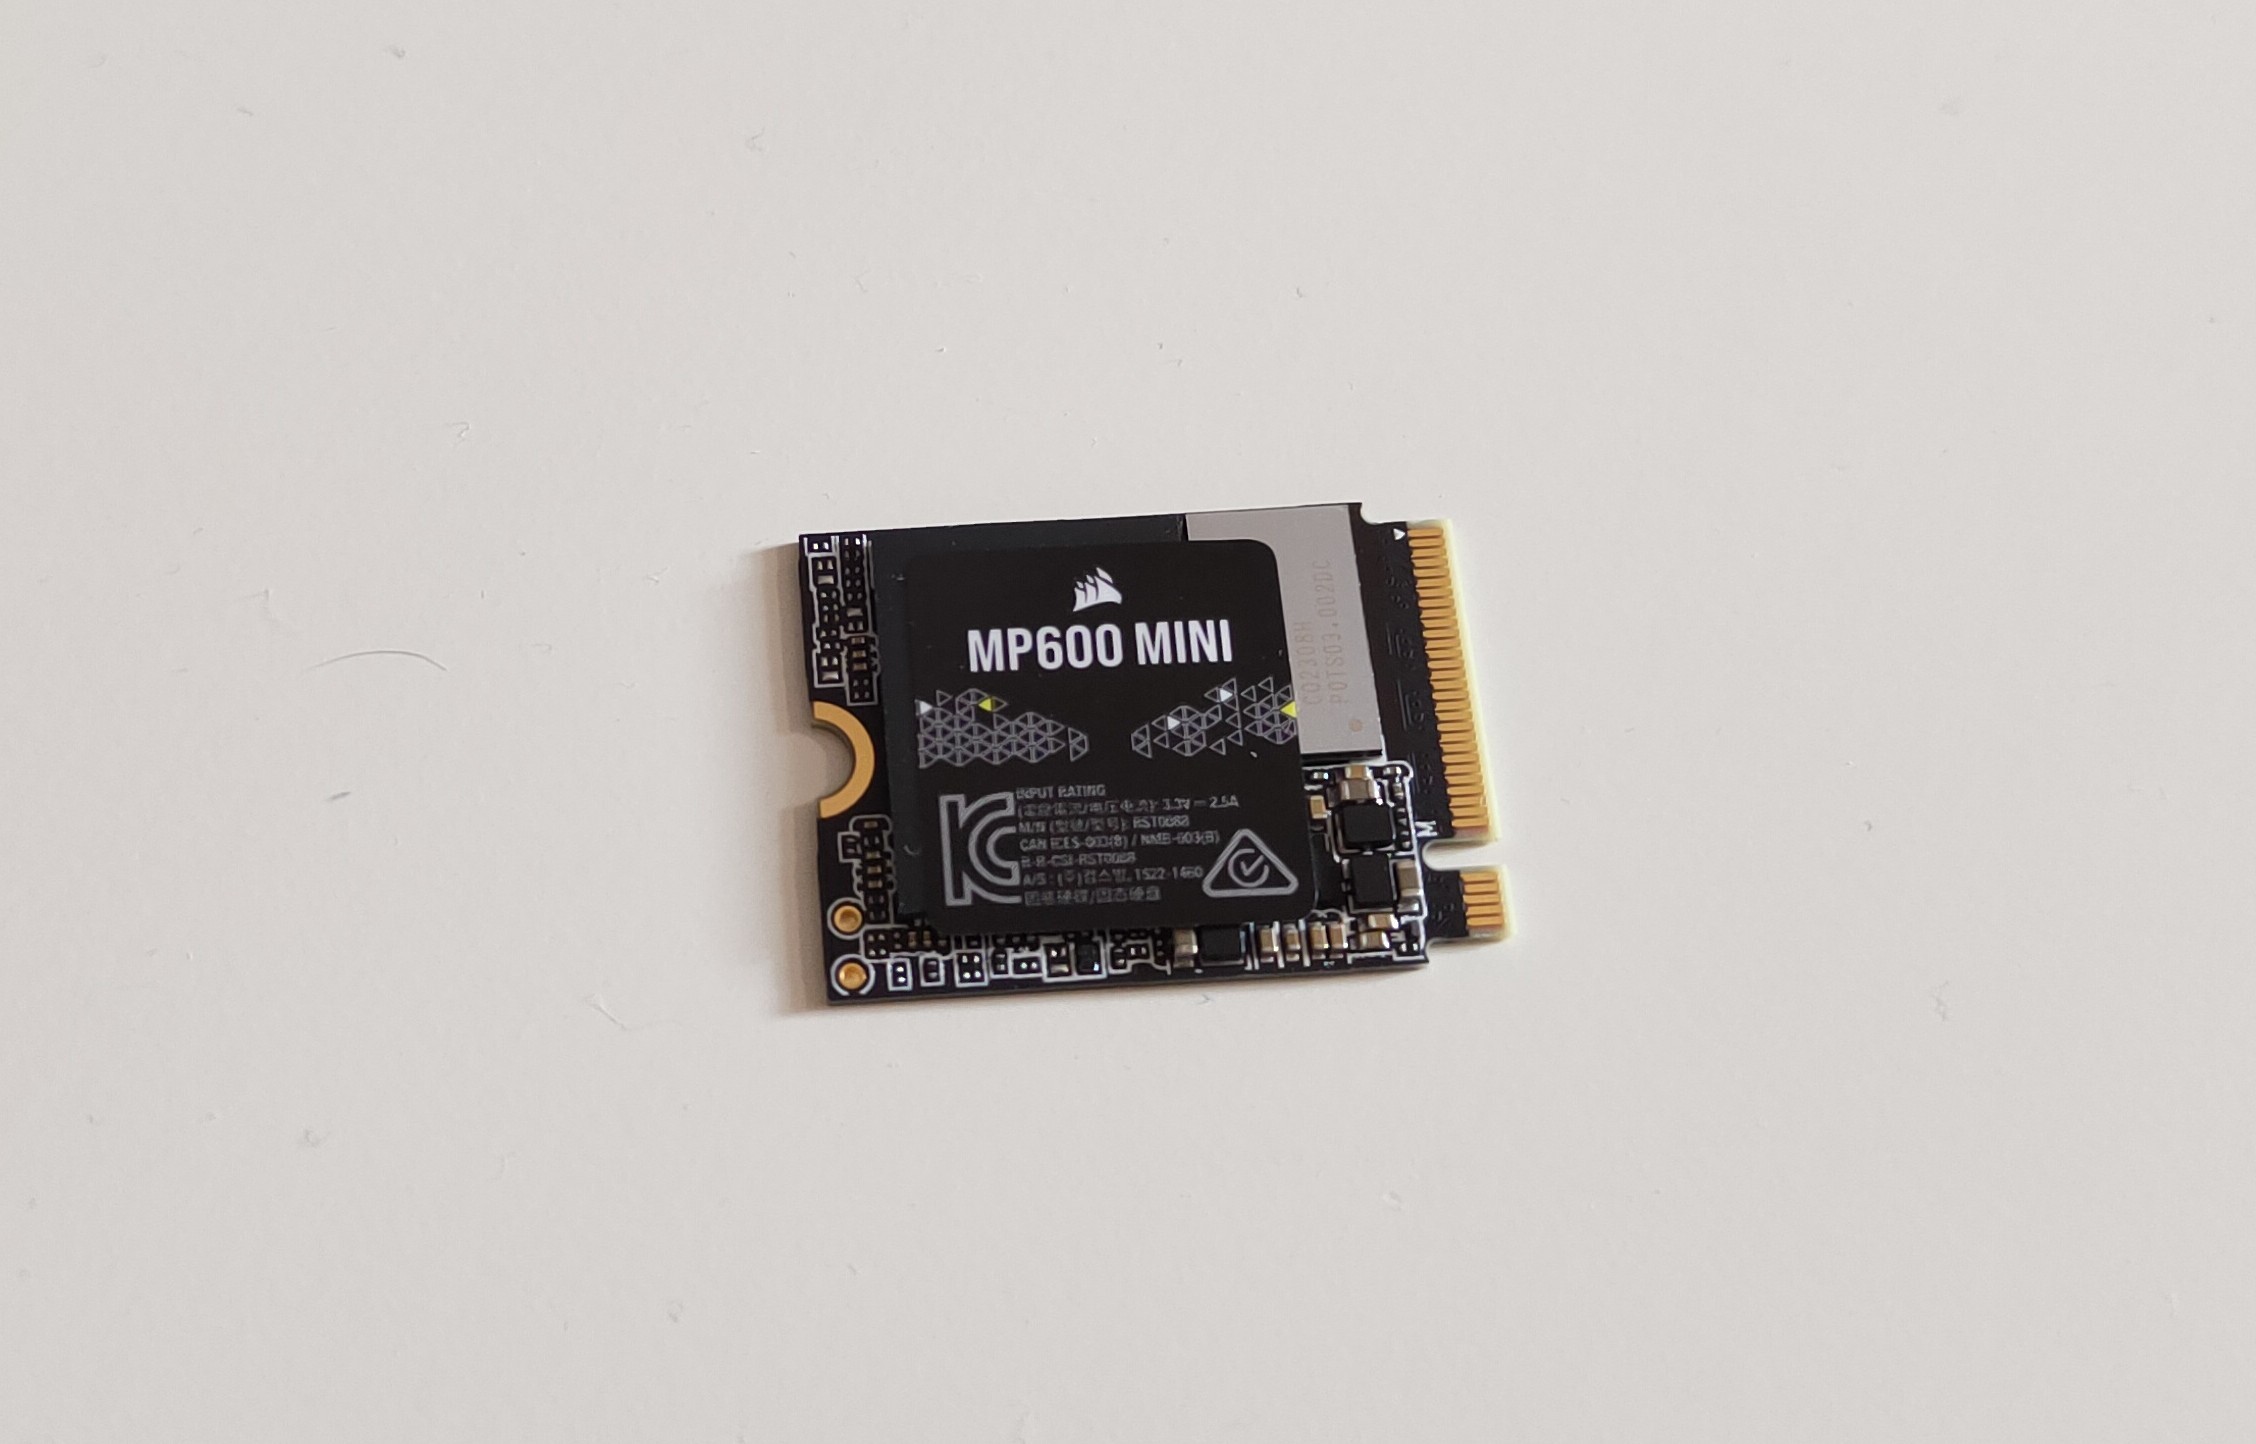
The Corsair MP600 MINI 1 TB SSD I intend to install in my Steam Deck.
Additionally, I got this Beikell M.2 NVMe USB case. The reason is that I did not want to open my PC, for I always tend to choose the route with less friction. If you happen to have one or two M.2 slots in your motherboard and you don’t mind opening your computer, you don’t need this.
In this guide, we will also use a computer with Linux to clone the drives. If you don’t have access to one, then the cloning section of this guide will be pretty much useless to you. Possible workarounds include using CloneZilla, or a live session from any of the distros offering one. Here we will use Arch Linux, with dd and GParted.
Finally, you will also need a small Phillips screwdriver, and a plastic opening pick.
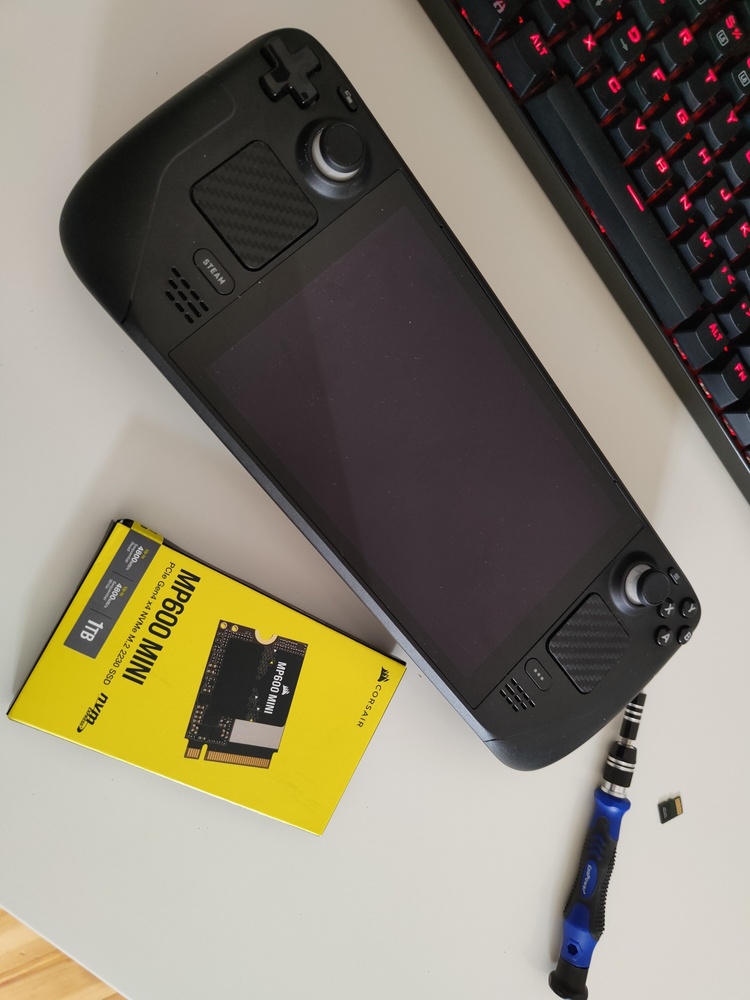
Everything ready: Steam Deck, SSD and screwdriver. SD card out of the slot!
Step 1: Open the Deck
The first step is simple. Use your Phillips screwdriver to remove the four 9.5 mm screws and the other four 5.8 mm screws from the back of the Deck. Then use an opening plastic pick to push on the small gap between the front and back covers. You should hear a few ‘clicks’ as the back cover comes loose. After that, remove the screws from the metal shield to the left of the fan (including the hidden one under the shiny sticker) and you already have direct access to the SSD. Take it out by removing the last little screw holding it in place, remove the thin shield layer protecting it, and you are good to go. Keep the shield for the new SSD, as it offers some protection from the wireless card underneath!
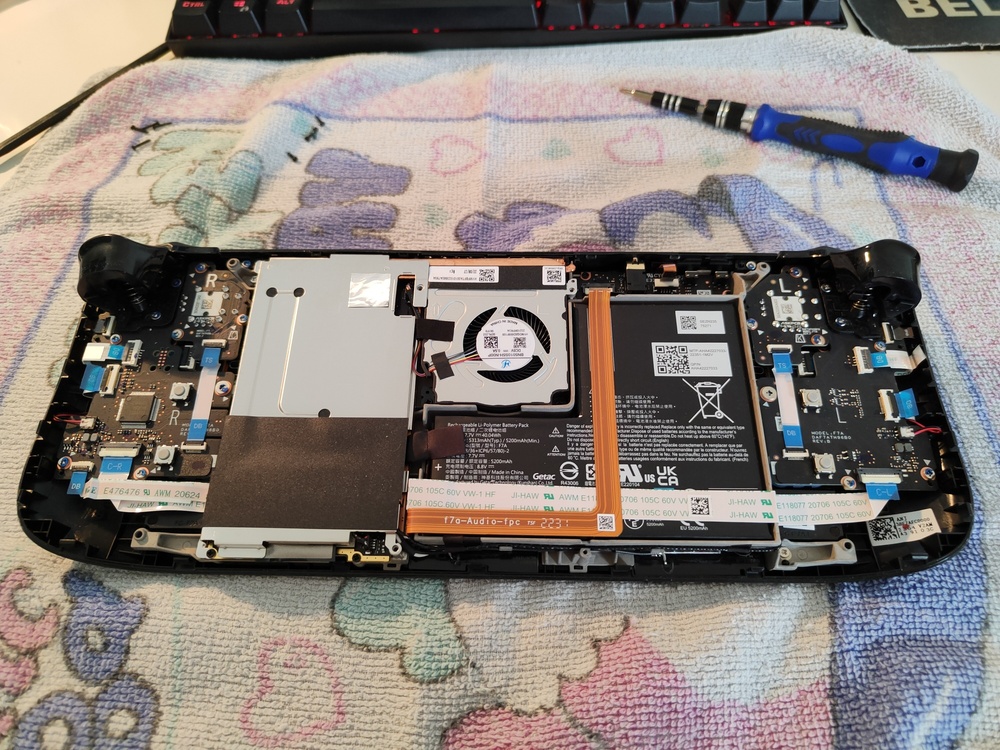
The back cover removed, ready to extract the shield. Under it is the 64 GB SSD.
A nice video guide on how to open the deck for SSD replacement can be found here.
Step 2: Clone the drive
In this step we clone the partitions (and data) in the old SSD to the new one. To that effect, we’ll use a computer with Linux. Look into CloneZilla if you don’t have access to one. Since I only have one one M.2 USB case, I’m using a 2-step process: first, I clone the old 64 GB drive into an image file in the internal HDD of my computer, and second, I restore this image file to the new 1 TB SSD.
First, we insert the old SSD into the case, and use lsblk find out the device name assigned to it by the OS. We need this to know the input device to create the image from.
➜ lsblk
NAME   MAJ:MIN RM   SIZE RO TYPE MOUNTPOINTS
sda      8:0    0 232.9G  0 disk
├─sda1   8:1    0   512M  0 part
├─sda4   8:4    0 108.3G  0 part /
└─sda5   8:5    0 124.1G  0 part /home
sdb      8:16   0 931.5G  0 disk
└─sdb1   8:17   0 931.5G  0 part /bigdata
sdc      8:32   1     0B  0 disk
sdd      8:48   1     0B  0 disk
sde      8:64   1     0B  0 disk
sdf      8:80   1     0B  0 disk
sdg      8:96   0  57.6G  0 disk
├─sdg1   8:97   0    64M  0 part
├─sdg2   8:98   0    32M  0 part /run/media/tsagrista/efi
├─sdg3   8:99   0    32M  0 part /run/media/tsagrista/efi1
├─sdg4   8:100  0     5G  0 part /run/media/tsagrista/rootfs
├─sdg5   8:101  0     5G  0 part /run/media/tsagrista/rootfs1
├─sdg6   8:102  0   256M  0 part /run/media/tsagrista/var1
├─sdg7   8:103  0   256M  0 part /run/media/tsagrista/var
└─sdg8   8:104  0    47G  0 part /run/media/tsagrista/home
sr0     11:0    1  1024M  0 rom
In my case, the Steam Deck SSD is in /dev/sdg. It contains 8 partitions, form /dev/sdg1 to /dev/sdg8. We can now use dd to copy its contents to our PC. If we use the root device name, /dev/sdg, the whole disk will be copied, including all partitions and the partition table. That is precisely what we want, as the first 7 partitions are system partitions which contain the bootloaders and root file systems, and of course they are needed in the new disk too! Note that you probably need to run the following command with sudo.
So, let’s create an image file in ~/steamdeck-2230-64gb.img using the disk /dev/sdg:
dd if=/dev/sdg of=~/steamdeck-2230-64gb.img status=progress
In this command, if is the input file (the disk device we want to image), and of is the output file. The status=progress tells the program to show the current copy progress.
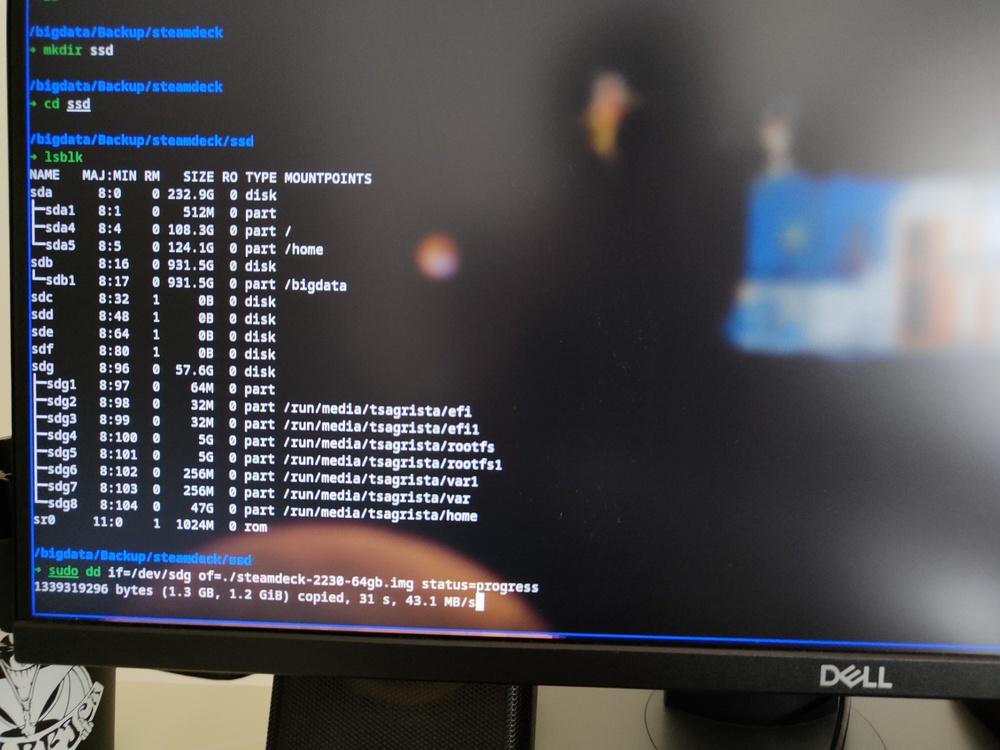
Running the dd command.
This takes a while. Once done, the file ~/steamdeck-2230-64gb.img contains the full image of the disk. We now need to dump it into the new SSD. We remove the old 64 GB drive from the case, and insert the new 1 TB drive.
Now we need to run lsblk again to check the device name assigned to the new disk. In my case, it is again /dev/sdg. Finally, we use dd again to restore the image file into the new drive:
dd if=~/steamdeck-2230-64gb.img of=/dev/sdg status=progress
At this point the image has been restored to the new SSD drive.
dd if=/dev/sdX of=/dev/sdY status=progress, where sdX is the old drive and sdY is the new one.Now our 1 TB SSD contains an exact clone of our 64 GB original Deck SSD. The problem is that the size of the home partition (/home) is only 47 GB, but our new disk has much more space. We need to resize the home partition.
Step 3: Resize home partition
The easiest way to resize the home partition is to use a partition program like GParted. With GParted, you need to select /dev/sdg8 and just resize it to take up all the empty space at the end of the drive. In my case, this gives me a home partition of 920.89 GB. Click the apply button and wait for the process to finish. It should only take a few seconds, as nothing needs to be copied or moved.
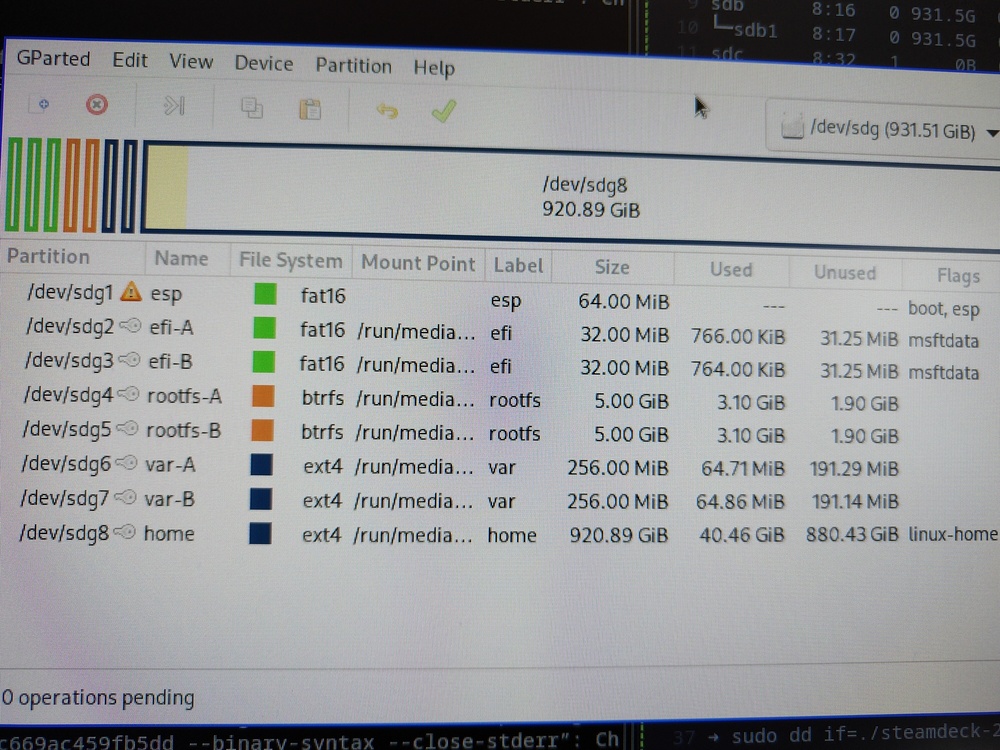
I used GParted to resize the home partition. This is the resulting layout of the 1 TB SSD before inserting it into the Steam Deck.
Step 4: Wrap-up
Finally, insert the newly cloned SSD into the deck and close it back. Boot it to make sure that everything works. The Steam Deck should start without problems with the new SSD, and you should be greeted with the same system in the same state as before.
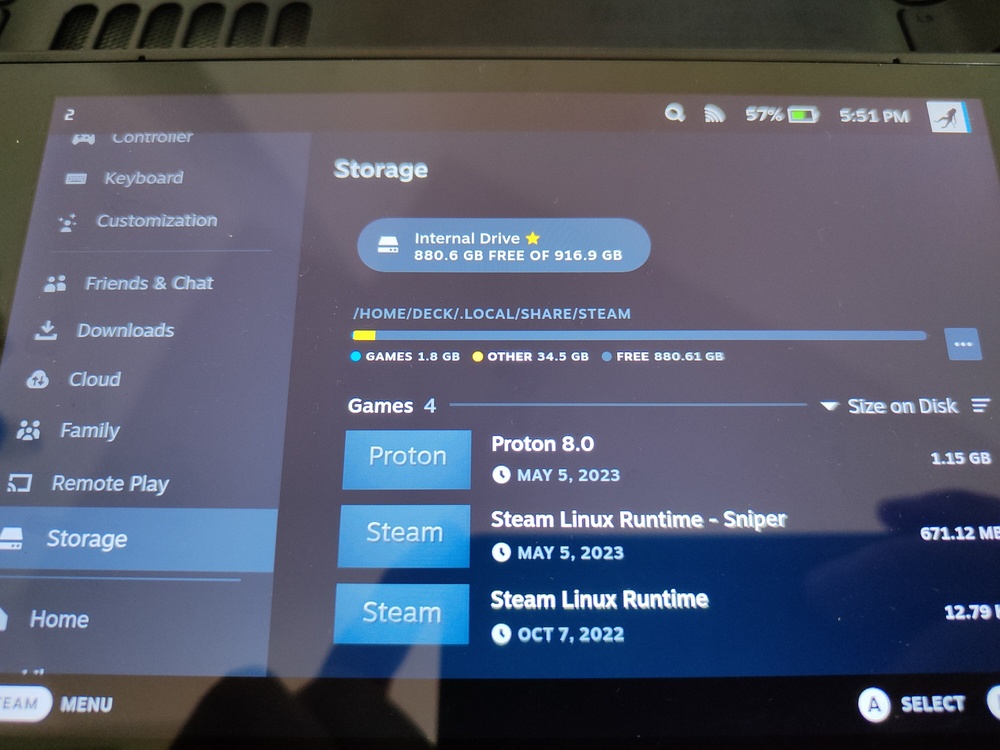
Everything went fine. The new drive is now available!
Conclusion
In this post, we have shown how to clone the M.2 drive in the Steam Deck to a new one using an intermediate file. It is amazing to me that a game console was built with such an open mindset and is so happy to let users tinker. The open, pro-consumer approach of the Steam Deck and the Framework laptops is what we need going forward.