Raspberry Pi 4: First impressions
A suprisingly capable single board computer with endless possibilities
In the last months, chimp, my old 2013 ZOTAC ZBOX ID42 HTPC, has been struggling more and more to decode and transcode high-resolution video on the fly, especially when encoded in H.265/HEVC. Thus, I set out to find a worthy successor to act as a squire to my TV. The ZOTAC still works, mind you, but it has become slow, loud and it takes ages to boot Arch Linux.
Raspberry Pi NinkBox kit.
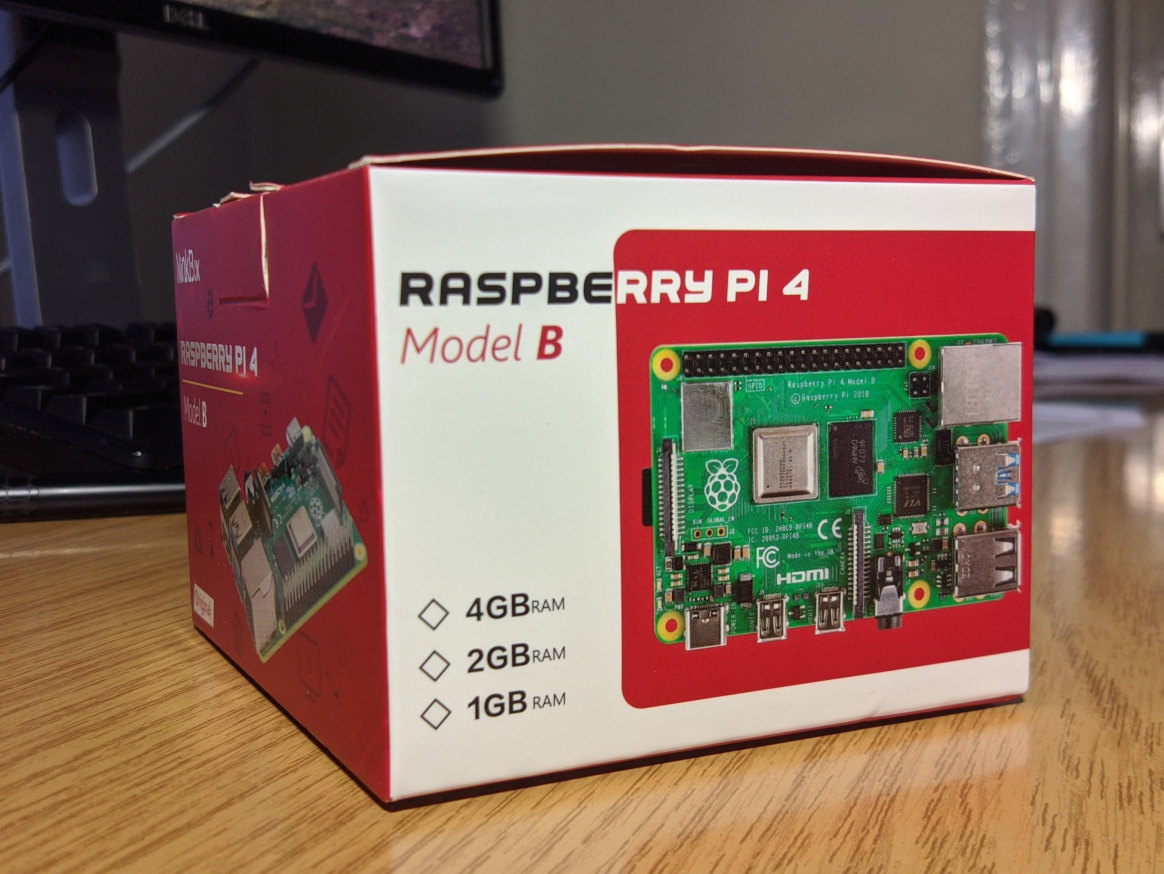
In my crusade to find the perfect replacement, I have considered recent off-the-shelf HTPCs, options with a Mini PC form factor like the intel NUCs, and some of the affordable single-board computers. It is in this last category that we find the Raspberry Pi. I have been interested in the Pi since its inception, following its developments and the various versions with mild curiosity. Finally, emboldened by its low price point, I bit the bullet and got a NinkBox Raspberry Pi 4 (4 GB) kit which comes with a 64 GB SD card, a power supply, an HDMI cable and a case with a fan and three heat sinks. In this post I dump my first impressions of the little thing after a couple of days of tinkering.
The NinkBox kit
The kit I got contains the Raspberry Pi 4b (4 GB version), a cheap plastic case, a noisy little fan (30x30x7 mm) with screws, three heat sinks (one for the GPU/CPU, one for the RAM module and the last for the USB controller unit), an HDMI cable, a power supply and a 64 GB microSD card with raspbian pre-installed.
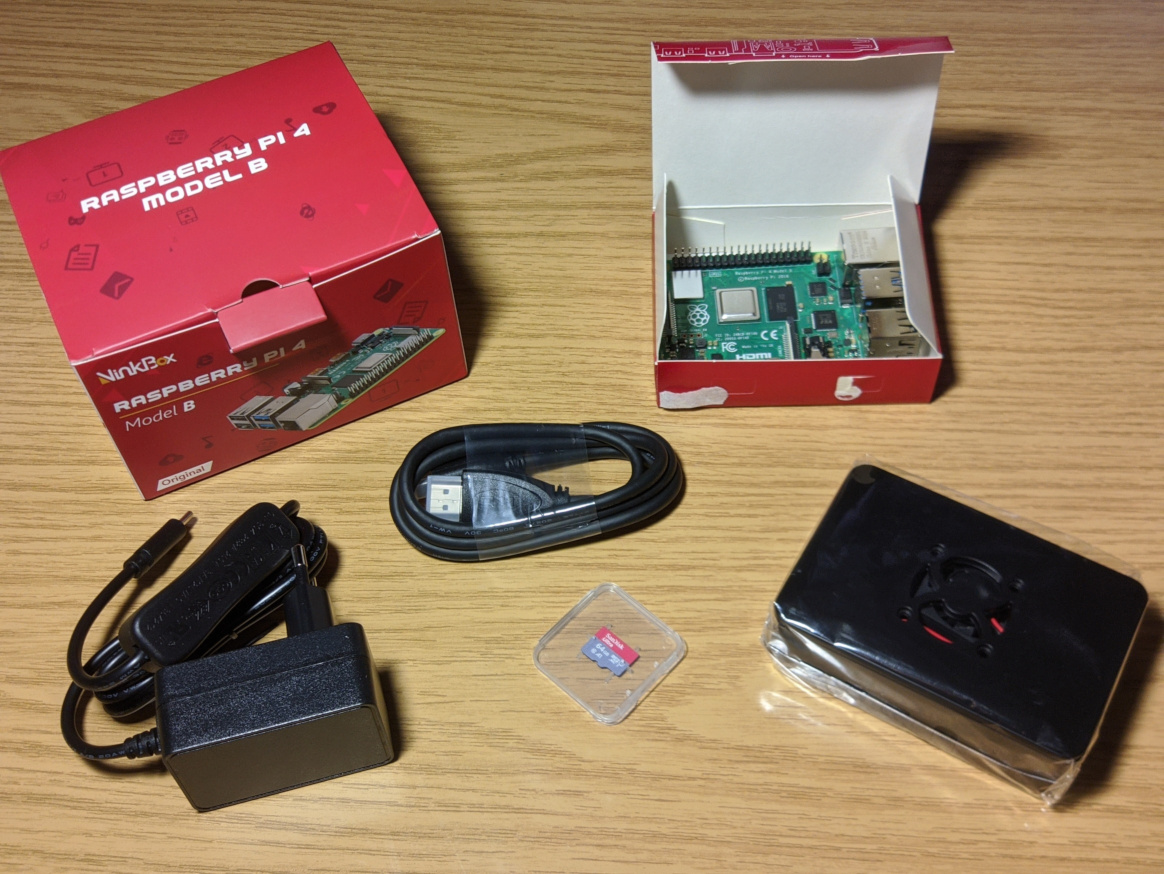
All the parts on the table.
The thing itself is very straightforward to set up. Just drop the Pi in the case, apply the heat sinks, screw the fan to the top lid and close the box. Now you are ready to plug it in and set up raspbian, the Debian-based default Operating System for the Rasbperry Pi.
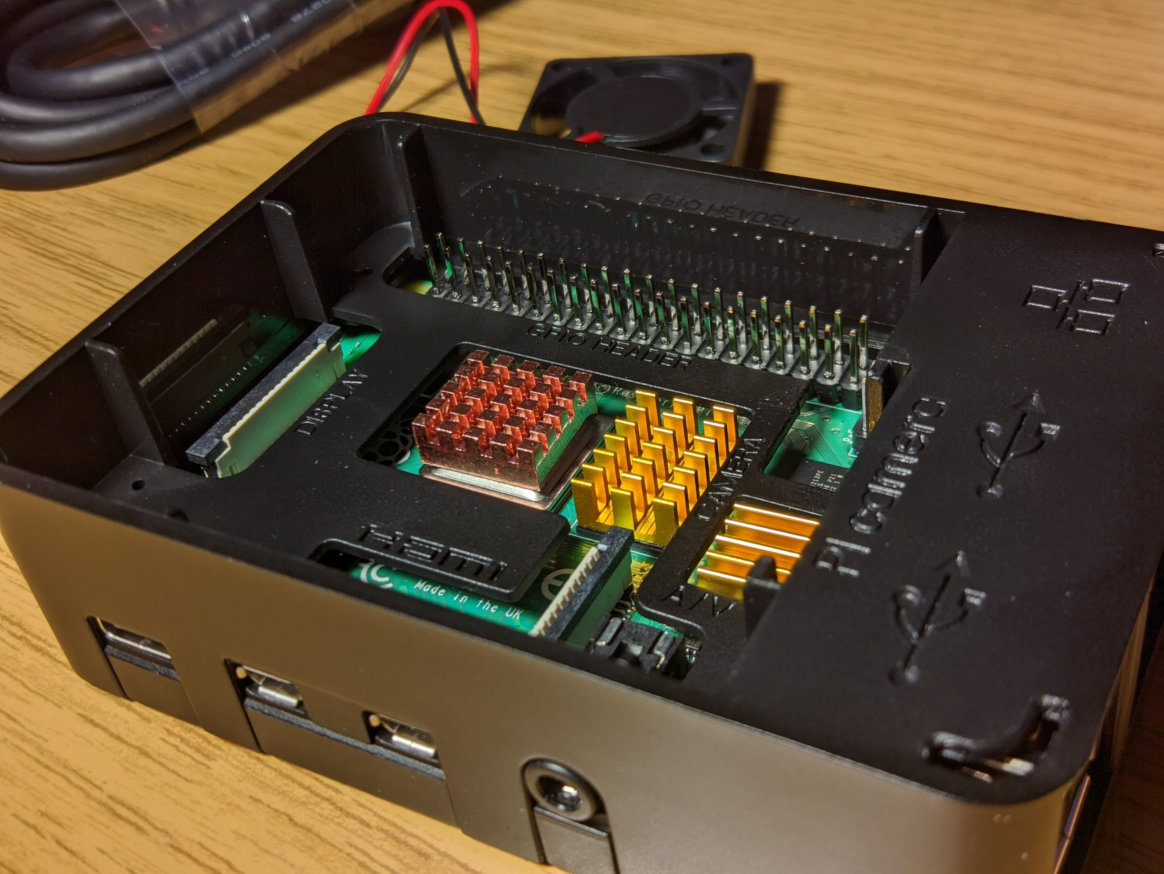
The case with the lid off. The three heat sinks are visible.
I connected the fan to the 3.3v pin of the GPIO, as in my tests it provided sufficient cooling (idles at 35C, goes up to ~40 when playing video), and connecting it to the 5v pin resulted in an unbearably high fan noise. Yes, the fan in this kit is super-noisy.
Edit (2021-03-22): Three days after delivery the little fan has died on me. Tonight it was making some unusually high pitches and whines in an erratic pattern. Now it just stops randomly with sounds from Hell. RIP little fanny.
System setup and update
The system is also trivial to set up, and this seems to be a pattern that repeats over and over when it comes to this little device. Everything is easy and pleasant to configure, and it is a joy to use. In my case, the Micro SD card came already flashed with Raspbian, so I just had to slide it into the card reader and do the software setup. In case you are starting with a blank card, you can find an awesome setup guide on the official site.
Now, once your card is flashed, connect the power supply to the Pi and that will turn it on. Wait for the system to boot and then you are presented with a fairly typical set of setup dialogs (locale, password, etc.) to get your system ready. At this point you may want to run an update and an upgrade to make sure you’re up to date, so fire up a terminal and do:
sudo apt update
sudo apt full-upgrade
Raspbian
Raspbian (the Raspberry Pi OS) seems to be a modified Debian with some additional, pi-specific packages—an additional repository, really. The default desktop is Openbox. The default shell is bash. It has a nice GUI configuration tool (‘Raspberry Pi configuration’) from which you can perform certain system administration tasks like setting up auto-login, choosing the look-and-feel, activating certain services (ssh, nfs, etc.) or activating and setting the parameters of the official fan (if you have it). There is also a CLI tool, raspi-config, which has some more depth to it, and adds controls to turn on/off the compositor, choose the amount of memory dedicated to the GPU or enabling pixel doubling for HiDPI displays. All in all, it is a pretty neat experience, and it feels polished.
HTPC
As I planned to hook it up to my TV and use it as an HTPC, one of the first things I installed is Kodi (18.9 Leia). That is something that never quite worked well with the old ZOTAC HTPC presumably due to it being underpowered. My QNAP NAS also struggles with it and fails to run smoothly. By contrast, it is butter smooth on the Rapsberry Pi 4, which surprised me very positively. Ever H.265-econded videos are no problem. I must note that I have not tried 4K video, as my TV is 1080p, but at least full HD works amazingly well. The Kodi interface feels fast and snappy, and the video playback is flawless. 10 points for the Pi here.
Pi-hole
Another thing I had my eye on for a while is Pi-hole. The Pi-hole is a community-driven, network-level ad-blocking service that runs on the Raspberry Pi. Basically, you set it up as the default DNS server in your router and all DHCP clients should pick it up. Honestly, it is amazing. My Vodafone (previously Unitymedia, previously KabelBW) router is dirt-cheap and super shitty, so it does not allow setting the DHCP IPv4 DNS servers. No problem, as the Pi-hole can also act as your DHCP server, and that’s how I set it up.
It comes with a very nice web interface which provides lots of info and statistics on the ad-blocking and the service.
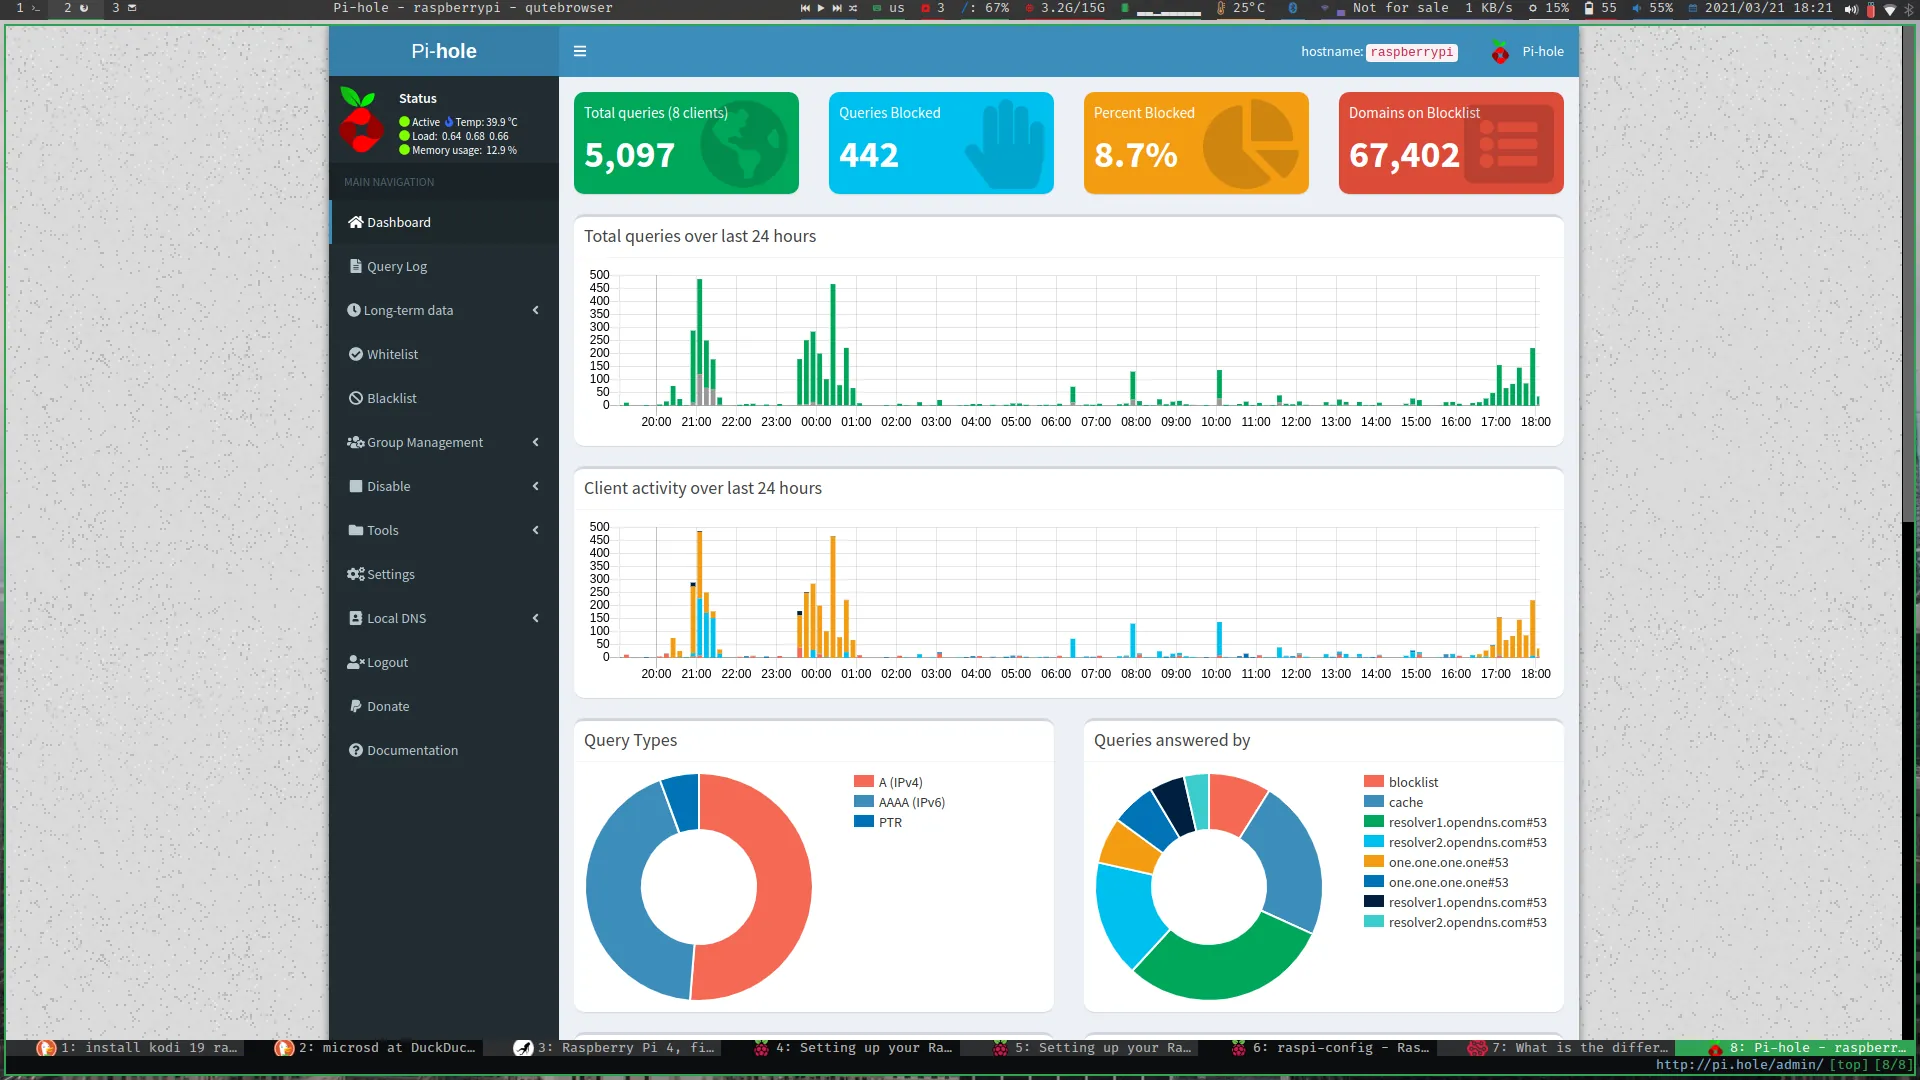
The Ph-hole web interface as I’m writing this article.
You can even set up local DNS records, so I naturally gave each of my systems a name. A device using the Pi-hole as its DNS server can access the devices by these names. Neat!
RetroPie
I have a Super NES 8Bitdo bluetooth controller, so obviously I had to set up an emulator station on the Pi for retro gaming. RetroPie seems to be the default choice of sorts when it comes to retro gaming in the small device. I must say that everything older than the Nintendo 64 runs well. I have tested ZX Spectrum, NES, GB, GBC, SNES, NDS, PSX and Dreamcast so far, without problems in any of the systems. Even some N64 games are more than playable, but I have not tested many so far. An interesting option might be overclocking the CPU and GPU to get some more juice out of the Raspberry to get some of those N64 games into playable territory, but I haven’t tried it out so far.

The Raspberry Pi 4 sitting next to the TV, with the 8Bitdo SF30 Pro controller.
Conlusion and future
All in all, I’m quite impressed with the Raspberry Pi 4 and how capable it is as a device that sits on your living room and is always on. It performs superbly as an HTPC, very decently as a retro gaming console, and it can provide network-wide ad-blocking when paired with the Pi-hole software. The possibilities of this little guy are virtually endless and I’m excited to try out new and old projects. It’s a shame that the fan that came with the kit I got is too loud, so I might explore the possibility of a passively-cooled heatsink case in the future. I heard good things about the FLIRC case.
As a final note, I want to add that after playing around with the Raspberry Pi 4 for some days I’m now super intrigued about a possible version 5 and how powerful it might come to be. Only the future will tell…